
On a stormy Tuesday in February 2024, a homeowner in Marrickville watched a tiny damp spot transform into a heavy, sagging bulge in under four hours. If you’re staring at a similar patch on your plasterboard, you know the immediate anxiety it brings. Dealing with ceiling leak water damage repair is a race against time. You’re likely worried about the structural integrity of your home, the cost of professional restoration, or that unmistakable musty smell that suggests a hidden problem.
It’s completely normal to feel overwhelmed when water breaches your roof or a pipe bursts upstairs. You want a dry, safe, and restored ceiling without the lingering threat of toxic spores. This guide gives you a clear, professional roadmap to handle the crisis effectively. We’ll walk you through the essential steps to stop the water, document every detail for a successful insurance claim, and use the Goldmorr System to ensure your ceiling cavity remains 100% mould free. Let’s restore your peace of mind and your home today.
Key Takeaways
- Learn the critical first steps to take during a leak, including the “Bucket and Nail” trick to prevent a total ceiling collapse.
- Discover how to interpret water stains and perform the “Sag Test” to determine if your plasterboard is still structurally sound.
- Understand the “Golden Window” for ceiling leak water damage repair to stop mould spores from activating within 48 hours.
- Identify when a DIY patch is safe using the “Hand-Sized Rule” and why health risks make professional removal essential for allergy sufferers.
- Explore how the industry-leading Goldmorr System eliminates airborne spores and restores your property without toxic chemicals.
Immediate Steps: What to Do When Your Ceiling Leaks
A leaking ceiling is a property emergency that requires instant action. You can’t afford to wait until morning because water follows the path of least resistance, often pooling behind plasterboard until the weight causes a total structural failure. Your first priority is safety. If water drips near light fittings or ceiling fans, go to your electrical switchboard and turn off the power to those circuits immediately. Water conducts electricity; touching a wet wall or standing in a puddle near a live fixture can be fatal.
Once the power is isolated, use the ‘Bucket and Nail’ trick to manage the ceiling leak water damage repair process before it worsens. Look for the ‘bubble’ or the lowest point of the sagging plaster. Place a large bucket underneath and use a small nail or a 2mm drill bit to pierce a hole in the centre of the bulge. This releases the trapped water pressure. It’s better to have a controlled 2mm hole to patch later than to have a 2-metre section of ceiling collapse onto your floorboards.
Identifying the source helps you call the right professional. A constant, steady drip usually indicates a burst pipe or a plumbing failure. If the leak only appears during Sydney’s heavy East Coast Low storms, you’re likely looking at a roof tile or flashing issue. Air-conditioning condensate drains are another common culprit, especially during humid January days when units work overtime. Document everything. Take at least 10 date-stamped photos of the leak, the damaged ceiling, and any affected belongings. Insurance adjusters require clear evidence of the ‘point of entry’ to process claims quickly.
Securing the Area and Preventing Further Damage
Clear the ‘drip zone’ by moving furniture, rugs, and electronics to another room. If items are too heavy to move, wrap them in heavy-duty 200um plastic sheeting. Sydney’s coastal salt air can accelerate corrosion on damp electronics, so get them into a dry environment fast. If water is gushing, call an emergency plumber. If it’s weather-dependent, contact a roof tiler. Our team can then step in to manage the professional ceiling leak water damage repair and ensure no spores remain.
Initial Moisture Control
Bureau of Meteorology data shows Sydney’s relative humidity often exceeds 70% during the wet season. Simply opening a window won’t dry your home; it often lets more moisture in. Use high-grade microfibre towels to soak up standing water and run a wet-vac if you have one. Set up floor fans to create high-velocity airflow across the wet patches. This starts the evaporation process within the first 60 minutes, which is critical for preventing the ‘earthy’ smell of mould from taking hold. We offer a 10% price beat guarantee on any written quote for professional drying and remediation services.
Identifying the Damage: Stains, Sagging, and Hidden Mould
Water leaves a distinct map on your ceiling that tells a story of how long the leak has existed. A fresh leak typically creates light yellow or tan rings with sharp edges. If you notice dark brown borders or bubbling paint, the water has been present for more than 48 hours. This is the critical window for ceiling leak water damage repair. You must act before the plasterboard loses its structural integrity. If the stain is soft to the touch or shows signs of white, powdery efflorescence, the gypsum core is already beginning to degrade.
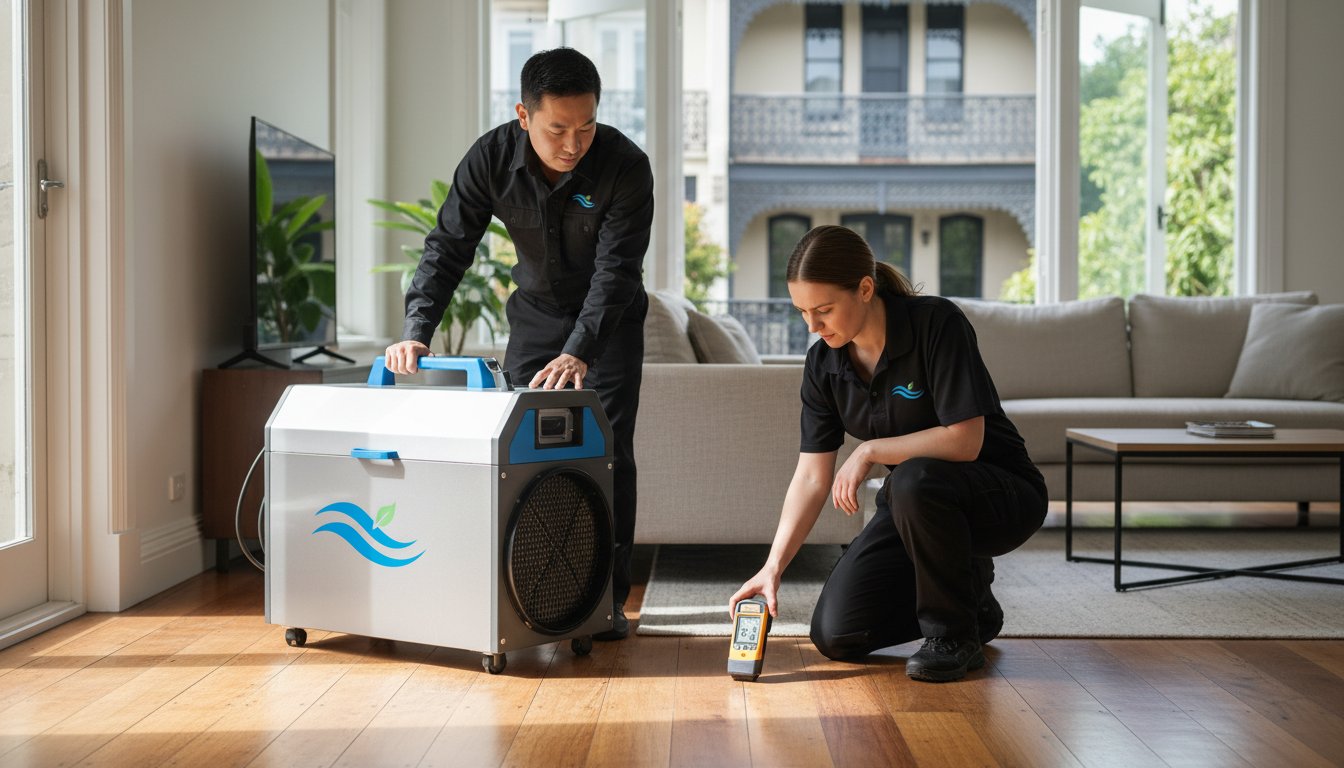
Professional restorers don’t rely on sight alone. We use pinless moisture meters to determine the difference between a “surface dry” ceiling and one that is “cavity dry.” A surface might feel dry to the hand, but if the internal cavity moisture exceeds 16%, mould will germinate within 24 to 48 hours. You can perform a basic “Sag Test” by placing a straight edge against the ceiling. If there is a gap larger than 5mm between the board and the straight edge, the internal structure is likely compromised and requires immediate professional attention.
Signs of Structural Compromise
Structural failure often starts with “nail pops,” where screw heads push through the paint because the timber framing has swollen or the board is sagging under extreme weight. In many older Sydney terrace houses, you will encounter lath and plaster rather than modern gypsum. Unlike modern boards that sag, lath and plaster can fail suddenly when the wooden “keys” snap, dropping heavy chunks of debris. The most significant danger is the “dead load” created by saturated insulation. Glasswool or cellulose insulation can absorb up to 10 times its weight in water. A single square metre of saturated insulation can hold 30 litres of water, putting immense pressure on the ceiling joints.
The Early Warning Signs of Mould
Mould often thrives where you can’t see it. The top side of your ceiling board is dark, dusty, and faced with paper, making it the perfect breeding ground for fungal colonies. If you notice a damp, earthy smell in the room, you are likely detecting microbial volatile organic compounds (mVOCs). These gases are a byproduct of active mould growth. You should also distinguish between “ghosting”—dark streaks caused by dust or soot—and actual fungal colonies. Real mould colonies appear fuzzy, slimy, or speckled. If you’re concerned about the health implications of these growths, read our guide on What Is Black Mould? A Complete Guide for Sydney Homeowners.
If your ceiling feels soft or you’ve noticed a persistent musty odour, don’t wait for a structural failure. You can send us images of the damage for a fast, professional assessment by our master technicians.

The Repair Process: Drying, Removing, and Restoring
Time is the most critical factor in any ceiling leak water damage repair. According to IICRC S500 standards, you have a 48 hour “Golden Window” to achieve dry standards before mould spores activate and begin colonising porous materials. If the ceiling remains damp past this 48 hour mark, the risk of microbial growth increases by 75%. Our master technicians focus on speed to prevent a simple leak from turning into a full scale hazardous remediation project.
- The Cut-Out Rule: Plasterboard is highly porous. If a ceiling section has sagged more than 10mm or shows signs of delamination, it’s structurally compromised. We don’t attempt to dry “blown” board. We remove these sections to access the cavity and prevent hidden mould.
- Anti-microbial Treatment: Removing the board is only half the job. We treat the exposed timber joists with the Goldmorr System. This ensures the structural skeleton of your home is decontaminated before new materials are installed.
- Structural Drying: We use industrial LGR (Low Grain Refrigerant) dehumidifiers. These professional units can remove over 65 litres of moisture per day, far outperforming any household equipment.
Professional Drying Techniques
We use the science of evaporation to save your property. By carefully balancing temperature and relative humidity, we create a “thirsty” air environment that pulls moisture out of deep structural timbers. Our team often uses Injectidry systems to push high-pressure dry air directly into ceiling cavities through small, unobtrusive holes. This often prevents the need for total ceiling demolition. We monitor every project with daily moisture mapping, using calibrated thermal imaging and non-invasive meters to prove the job is done correctly.
Restoring the Finish
Once the structure is certified dry, we restore the aesthetic of your home. We apply specialized stain-blocking primers, such as Zinsser B-I-N or Kilz Restoration, to the repair area. This step is vital. Without these primers, water tannins will bleed through standard paint within weeks. Our experts then match your existing ceiling texture, whether it’s a flat finish or a specific spray pattern, for a seamless look. For more immediate steps to take while waiting for our team, check out our Water Damage Repair: Your Emergency Guide for Sydney Homes. Don’t wait until the problem worsens because it will. We’ll beat any written quote by 10% to ensure you get professional results at the best price.
DIY vs. Professional Restoration: When is it Safe?
Deciding between a weekend project and calling a master technician often determines the lifespan of your property. For minor issues, the “Hand-Sized” rule applies. If the water stain is smaller than 10cm by 10cm and the source is a simple plumbing fix, a DIY patch kit might suffice. However, most ceiling leak water damage repair tasks involve hidden moisture that a standard hardware store kit can’t address. For those with asthma or severe allergies, DIY attempts are dangerous. Disturbing even a small colony of spores can trigger a 40% increase in respiratory distress symptoms within a confined space.
The cost-benefit analysis is clear. A $40 DIY patch and paint job looks good for a week, but it fails to treat the structural timber above the plasterboard. Professional remediation prevents a full ceiling replacement, which can cost upwards of $5,000 in a standard Sydney terrace. Additionally, major Sydney insurers often require a certificate of professional remediation to maintain your coverage. Without this documentation, future claims related to that specific leak may be denied based on “pre-existing neglect.”
When to Call the Experts
You must stop any DIY efforts immediately if you encounter “grey” or “black” water. This includes water from washing machines, dishwashers, or sewage lines, which contain high levels of bacteria. Professional ceiling leak water damage repair is also mandatory if:
- The visible damage exceeds 1 square metre in size.
- Water has migrated through the ceiling into multiple rooms or down wall cavities.
- Your home was built before 1990. In Sydney, these properties have a high probability of containing asbestos in the ceiling linings or insulation, requiring specialized handling.
The Hazards of Incomplete DIY
The most common mistake Sydney homeowners make is the “Paint-Over” trap. Using oil-based “stain-blocker” paint seals the surface but traps moisture inside the plasterboard. This creates a dark, humid micro-environment that fuels rapid mould growth behind the scenes. Household bleach is another common failure. It’s 90% water and lacks the surfactant properties needed to penetrate porous plasterboard, often feeding the mould roots instead of killing them. Secondary mould damage is the result of improper drying. Our team uses the Goldmorr System, an industry-leading solution that eliminates airborne spores and treats the root cause of the infestation. It’s that simple. It’s that easy.
Don’t risk your health or your home’s structural integrity on a temporary fix. Contact our expert team today for a professional assessment and peace of mind.
Professional Water Damage & Mould Remediation in Sydney
Ceiling leaks don’t wait for business hours. Sydney storms and burst pipes often cause structural issues at 2 AM. ABC Mould Cleaning Solutions provides a 24/7 emergency response to address your ceiling leak water damage repair needs immediately. We understand the stress of seeing water drip through your plasterboard. Our master technicians arrive quickly to stop the spread of moisture and begin the restoration process. You can trust our team to provide you with peace of mind during a property crisis. We don’t just clean; we restore your home to a safe, healthy state.
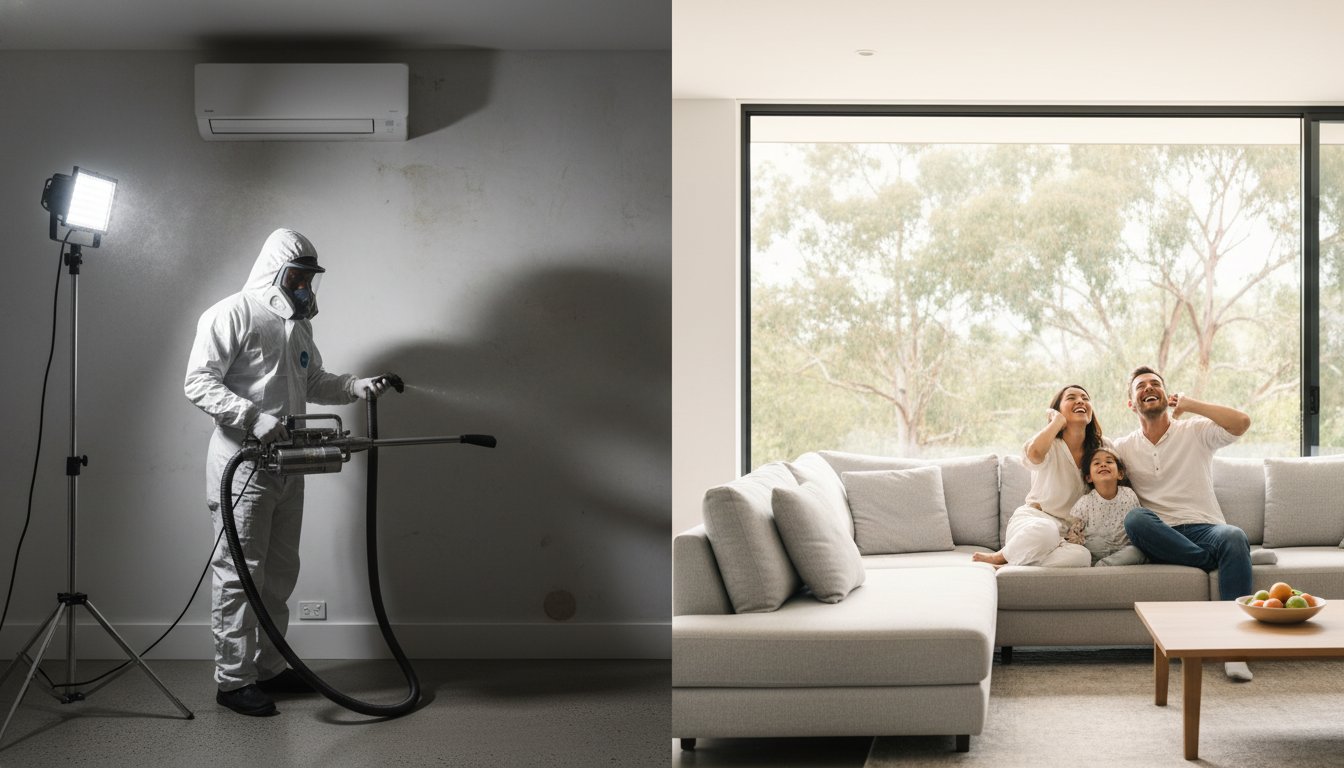
Mould can quickly take over your home or office after a leak. We use the Goldmorr System to eliminate airborne spores without relying on toxic chemicals. This industry-leading solution targets the root of the problem rather than just the surface. Your family deserves to breathe clean air. Our air scrubbing and purification process ensures that every room is safe for children and pets after the repair is complete. We’re so confident in our professional service that we offer a 10% Price Match Guarantee. We will beat any written quote by 10% to ensure you get expert care at a competitive rate. Professional ceiling leak water damage repair is the only way to prevent long-term structural rot and recurring health issues.
The Goldmorr Advantage
Traditional cleaning often misses the mould hidden deep inside ceiling cavities. Our biodegradable fogging process fills the entire void, reaching areas that are physically inaccessible to hands or brushes. This non-mechanical air scrubbing is significantly faster than old-fashioned methods. It’s more effective because it neutralizes spores on contact rather than just filtering them through a machine for days. Most jobs are completed in a single visit, saving you time and money. For the best results, visit Sydney’s #1 Mould Removal Service: Safe, Fast & Guaranteed to see how we handle complex infestations.
Next Steps for Sydney Homeowners
Getting started is easy. Take your phone and snap a few clear photos of your ceiling damage. Send us these images through our website, and we’ll provide an instant, affordable quote. This removes the friction and gets our technicians to your door faster. After we finish the remediation, we provide specific recommendations to stop the moisture from returning. This might include identifying faulty roof tiles or poor ventilation in your attic. Don’t wait until the problem worsens, because it will. A small damp patch today can become a toxic health risk by next week. Contact ABC Mould Cleaning Solutions today for a professional inspection. It’s that simple. It’s that easy.
Restore Your Safety and Protect Your Sydney Property
Water damage doesn’t wait for a convenient time. Research from the EPA confirms that mould colonies can establish themselves within 24 to 48 hours of initial moisture exposure. This rapid growth makes immediate action vital for your property’s structural integrity and your family’s health. You’ve learned how to identify sagging plaster and how to manage the initial stages of a leak. Now, it’s time to ensure your ceiling leak water damage repair is handled by experts who use the scientific Goldmorr System. Our Master Technicians provide a 24/7 emergency water damage response across all Sydney suburbs to stop destruction in its tracks. We’re committed to being the most reliable and competitive choice in the region. Our team will beat any written quote you provide by 10%. Don’t let a small ceiling stain evolve into a costly, dangerous mould infestation. It’s that simple. It’s that easy.
Send us images of your ceiling damage now for a fast, affordable quote!
We’re ready to help you restore your peace of mind and return your home to a safe, dry condition today.
Frequently Asked Questions
Is a water-damaged ceiling dangerous?
Yes, a water-damaged ceiling presents immediate structural and health risks to everyone in the property. Water weakens drywall and timber, often reducing structural integrity by over 50 percent and creating a collapse hazard. Damp materials also release airborne spores that trigger respiratory issues. Don’t wait until the problem worsens because it will. Call our master technicians now to restore safety to your home.
Can I just paint over a water stain on my ceiling?
No, painting over a stain only hides the symptom while the underlying rot and mould continue to spread. Standard latex paint doesn’t stop moisture or kill fungi. You must first complete a full ceiling leak water damage repair to ensure the area is dry and sterile. Using the Goldmorr System ensures that hidden spores are eliminated before any cosmetic work begins. Send us images of your stain today for an affordable quote.
How long does it take for mould to grow after a ceiling leak?
Mould spores typically germinate and become visible within 24 to 48 hours of moisture exposure. According to the EPA, fungi thrive in damp environments almost immediately. Once established, a colony can double in size every few hours. If your ceiling is wet, you have a two day window to dry it before professional remediation becomes necessary. Our biodegradable fogging process stops this growth in its tracks.
Will my home insurance cover ceiling water damage repair in Sydney?
Most Sydney home insurance policies cover ceiling leak water damage repair if the cause was sudden and accidental, like a burst pipe. Gradual leaks or lack of maintenance are often excluded from standard Product Disclosure Statements. Review your specific policy for escape of liquid clauses. We provide detailed reports and images to assist with your insurance claim, making the process simple and easy for you.
How much does it cost to repair a water-damaged ceiling professionally?
Professional repair costs vary based on the extent of the damage and the materials involved. While we don’t provide flat fees without an inspection, we promise to beat any written quote by 10 percent. Costs typically include moisture testing, structural drying, and mould treatment. For an accurate, affordable quote, send us images of the damage. It’s that simple. It’s that easy.
What is the best way to dry out a ceiling after a leak?
The most effective method involves using industrial dehumidifiers and air movers to create a controlled drying environment. Simply opening windows isn’t enough to remove moisture trapped in porous drywall and timber. Our team uses non-mechanical air scrubbing to ensure deep drying. This prevents the musty smell often associated with DIY drying attempts. Professional drying saves you from expensive structural replacements later.
Can a ceiling collapse from a small leak?
Yes, even a small, persistent leak can cause a sudden ceiling collapse as water pools on top of the drywall. Drywall absorbs water like a sponge, which makes it heavy and causes it to lose its grip on the ceiling joists. A one square metre section of wet drywall can weigh over 20 kilograms. This weight often causes the entire sheet to fail without warning. Don’t risk your safety; contact us for peace of mind.
Do I need to replace the insulation if it got wet from a leak?
You must replace wet cellulose or fibreglass insulation because it loses its R-value and becomes a breeding ground for mould. Once insulation is saturated, it compresses and fails to insulate effectively. It also traps moisture against your ceiling joists for weeks. Removing and replacing affected insulation is a standard part of professional ceiling leak water damage repair. We ensure your attic space is safe and dry before you install new materials.