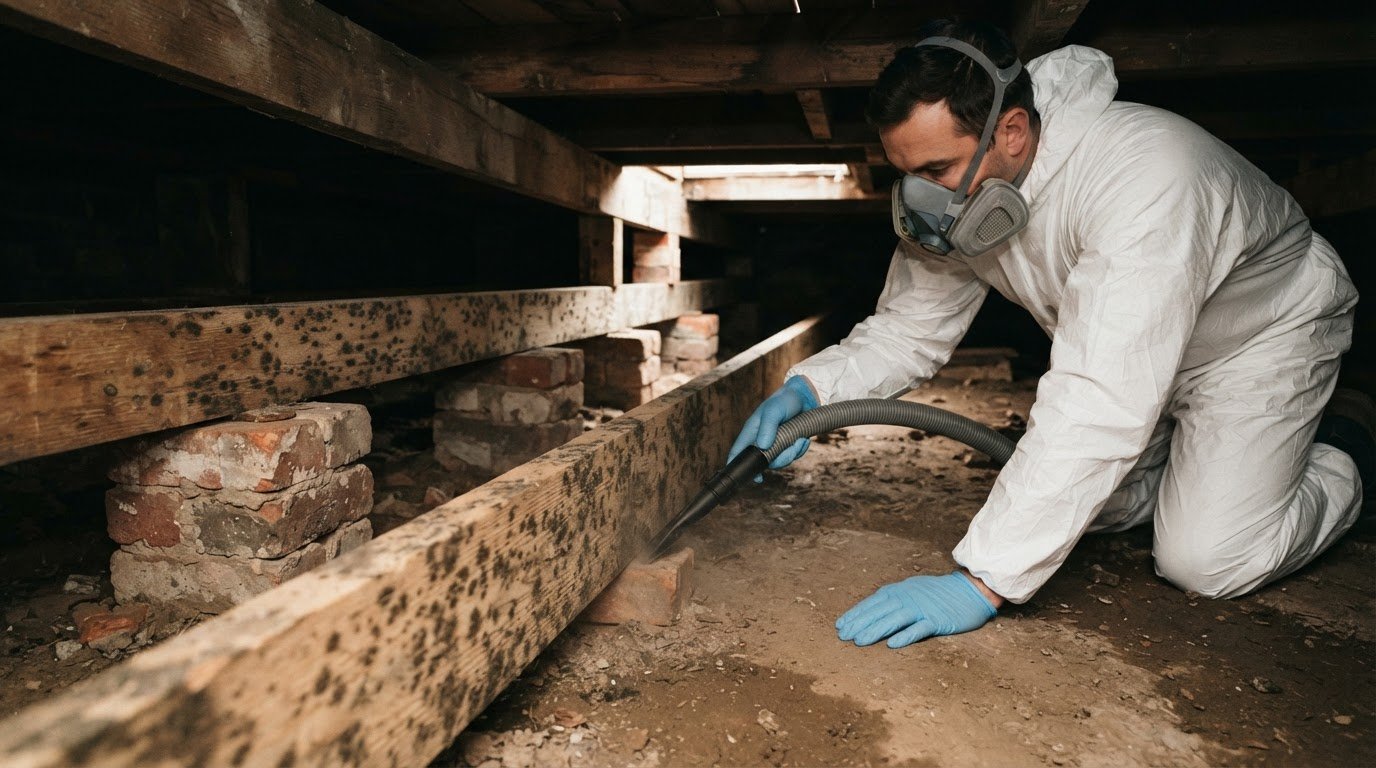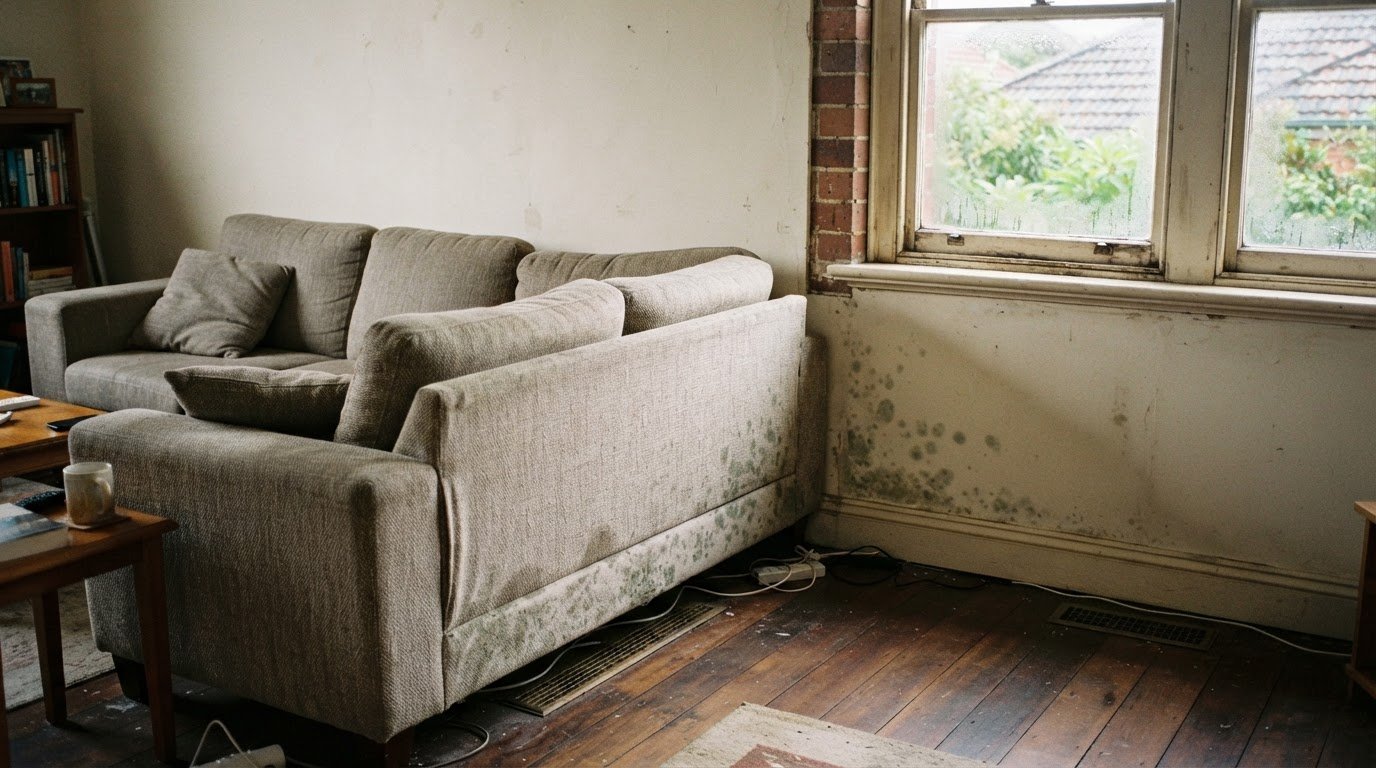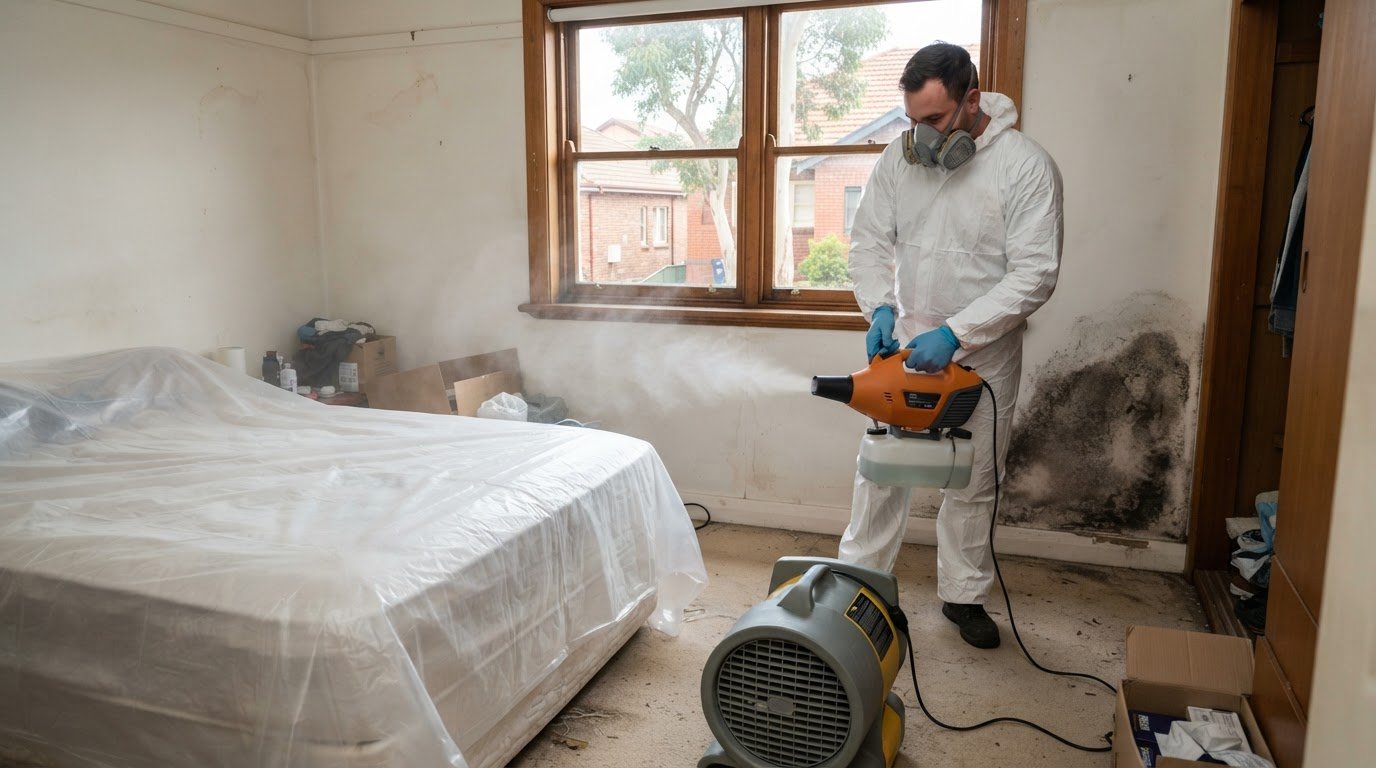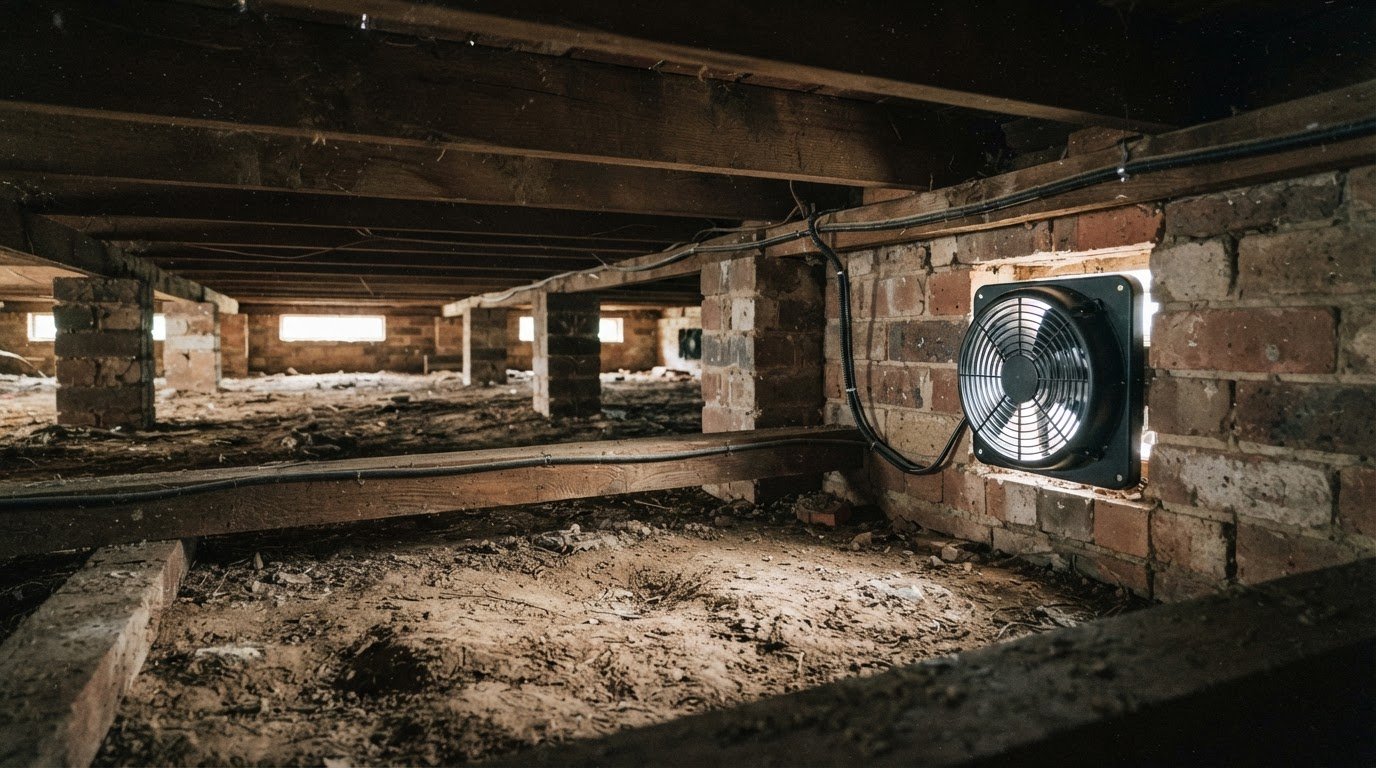
A room can look clean while the evidence of mould still needs to be assessed. A post-remediation air quality verification test combines visual checks with analytical sampling to assess mould levels after remediation. In Australia, the aim is to return surfaces to their normal pre-contamination state, not to sterilise them, and there’s no national standard for acceptable mould levels.
It’s reasonable to want clear evidence that remediation has addressed the problem, not just left surfaces looking clean. A post-remediation air quality verification test can provide useful information by analysing samples and comparing the findings with the condition of the work area.
Here, you’ll learn what verification checks, how NATA-accredited laboratory analysis assesses mould levels, and what the report and recommendations can tell you. We’ll also explain when testing is carried out and how to interpret the results, so you can make a more informed decision about the next step.
Key Takeaways
- Plan verification after final cleaning, allowing time for airborne particles to settle before sampling.
- Independent laboratory analysis can help distinguish indoor mould findings from the outdoor comparison sample.
- Pay close attention to Aspergillus and Penicillium results, as well as any identified target mould types.
- Use the report’s sample details, limitations and recommendations to understand what was assessed and what action may be needed.
- Match testing to the remediation work: mould sampling does not automatically assess other pollutants such as asbestos, lead or VOCs.
NATA-accredited laboratory analysis
Independent sampling and laboratory analysis provide separate evidence about mould conditions after remediation. An assessor collects samples, and a NATA-accredited laboratory analyses them.
Independent Testing Qualifications
An independent environmental assessor with relevant mould-assessment competence can collect post-remediation samples. Independence matters because the assessment should evaluate the completed work objectively, rather than simply repeat the remediator’s visual conclusion.
NATA accreditation applies to a laboratory’s accredited testing activities. It does not automatically cover the person collecting samples or the entire remediation project. Look for a report that identifies the laboratory, sample locations, collection details and analytical method. These details help you understand what the results represent and which areas they cover.
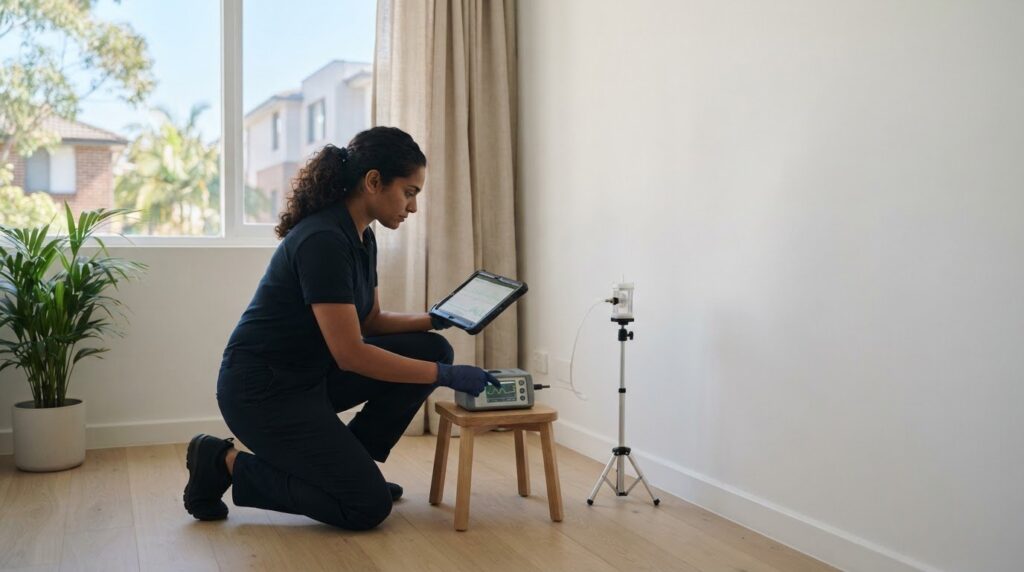
Sampling should follow a clear plan. A technician may use a spore trap to draw 75 to 150 litres of air into a sample, with each collection taking five to ten minutes. Indoor samples are more useful when interpreted alongside an outdoor comparison sample. The assessor should record where each sample came from, since a result from the work area cannot automatically describe every room.
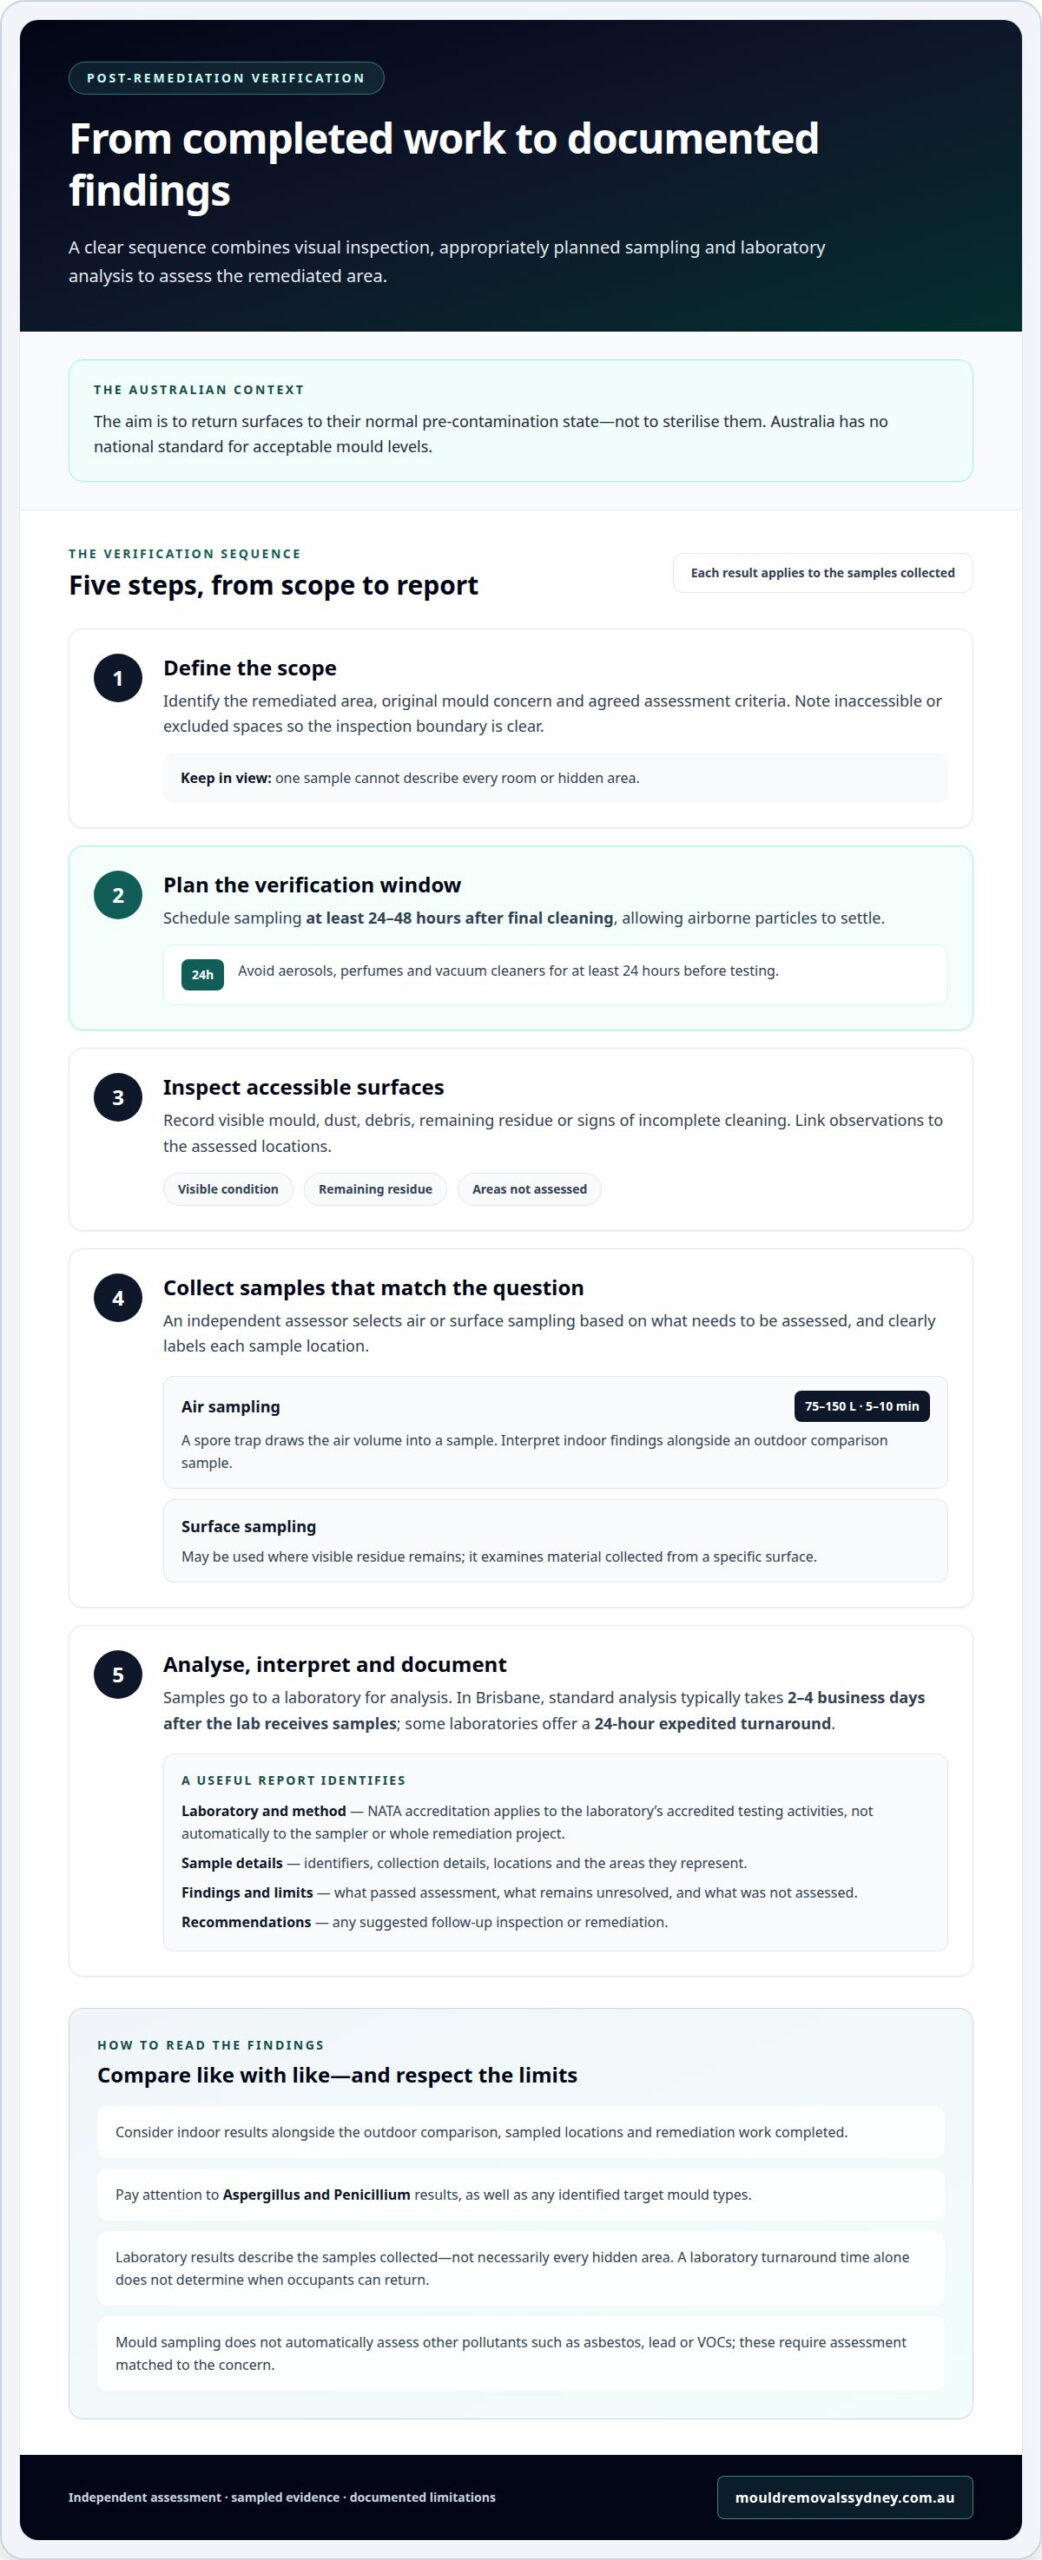
Timing also affects interpretation. Post-remediation verification should take place at least 24 to 48 hours after final cleaning. Avoid aerosols, perfumes and vacuum cleaners for at least 24 hours before testing, as these activities can affect airborne particles. A documented sampling plan makes these conditions easier to understand when reviewing the laboratory report.
Laboratory Results and Occupant Return
Standard laboratory analysis in Brisbane typically takes between two and four business days after samples reach the lab. Some laboratories offer a 24-hour expedited turnaround for urgent requirements. These periods begin when the laboratory receives the samples, not necessarily when sampling takes place.
Ask the assessor to explain the sample identifiers and findings in plain language. A useful interpretation considers indoor results alongside the outdoor comparison, sampled locations and remediation work completed. Laboratory results apply to the samples collected, not necessarily to every hidden area.
Laboratory turnaround alone does not establish when occupants can return. That decision should follow the site’s remediation and clearance findings, including whether the work area is clean and any controls are still required. For example, receiving a report after two business days does not prove that an untested room is ready for use.
Keep the laboratory report with the assessor’s observations and recommendations. If results identify an area needing further attention, the findings can guide the next inspection or remediation step. If results support clearance, the records provide a dated account of the samples, locations and conditions assessed. This gives property owners a practical basis for discussing access and any remaining work.
Why independent post-remediation verification matters
Independent verification separates the assessment of completed remediation from the work itself. It checks whether the agreed remediation criteria are met and records any limitations for future reference.
Sampling Method Selection
For mould, assessors commonly use airborne spore-trap sampling and may collect surface samples where visible residue remains. The method should match the question: an air sample assesses airborne particles at a particular location, while a surface sample examines material collected from a specific surface.
Mould, asbestos, and fire or water damage require different assessment approaches. Mould verification focuses on fungal evidence and visible condition; asbestos testing targets asbestos fibres, while fire or water damage assessments depend on the contaminants or materials affected. One mould air sample cannot establish whether asbestos is present or assess every consequence of a fire or leak.
Cost depends on the property, the number and type of samples, the areas assessed, and the analysis required. The price varies by case and is provided after a quote request.
Independence is useful because a separate assessor can compare observations with the agreed remediation criteria. For example, a clean-looking wall does not show whether nearby air samples differ from outdoor conditions. A documented assessment distinguishes what was inspected from what was sampled, so a single result is not treated as proof about untested areas.
Clearance Inspection Steps
An Australian clearance inspection follows a defined sequence, from reviewing the work scope to documenting findings. Start by identifying the remediated area, reported mould locations, and criteria for the assessment. Then inspect accessible surfaces for visible mould, dust, debris, or incomplete cleaning.
- Review the scope. Compare the remediation work area with the original concern and note inaccessible or excluded spaces.
- Inspect visually. Record visible conditions, including remaining residue or signs that require further attention.
- Collect samples. Select air or surface sampling to suit the question, and label each sample location clearly.
- Submit samples for analysis. Laboratory findings should be interpreted alongside the inspection and relevant comparison samples.
- Report results and limitations. Record what passed assessment, what remains unresolved, and any recommended follow-up.
A useful report links each finding to a location and explains which areas were not assessed. If the inspection identifies remaining concerns, professional mould inspection services can help clarify the next assessment or remediation step. Clear records make the outcome easier to understand and give property owners a practical basis for deciding what happens next.
Aspergillus and Penicillium levels
Aspergillus and Penicillium are assessed by comparing indoor mould results with an outdoor sample. Reported benchmarks help interpret findings, but Australia has no national standard for acceptable mould levels.
For post-remediation sampling, each mould type in the indoor work area should not exceed the outdoor result for that genus or species by more than 100 c/m3. The stated post-remediation benchmark for Aspergillus and Penicillium is below 200 c/m3. These are two separate comparison points: one compares indoor and outdoor results, while the other concerns the measured level of these mould types.
Read both figures in context. For example, an indoor Aspergillus/Penicillium result of 180 c/m3 is below 200 c/m3. But if the outdoor result is 50 c/m3, the indoor result is 130 c/m3 higher. That exceeds the stated indoor-to-outdoor difference of 100 c/m3, even though the indoor result is below 200 c/m3. The report should make both comparisons clear.
Outdoor sampling matters because mould spores occur in the environment around a property. The outdoor sample provides context for indoor findings on the day of testing. If the report lists several rooms, compare each indoor result with the relevant outdoor result rather than relying on one building-wide total. Sample location, genus identification and concentration all affect interpretation.
- Check the unit. Confirm that results are reported as c/m3, meaning counts per cubic metre.
- Compare like with like. Match Aspergillus/Penicillium indoors against the outdoor result for the same genus or species.
- Review both benchmarks. Consider the less-than-200 c/m3 level and the 100 c/m3 indoor-to-outdoor difference separately.
- Check the location. Relate each result to the room or work area named in the sample record.
A number alone cannot show whether remediation has returned an area to its normal pre-contamination condition. The Australian Mould Guidelines describe remediation’s goal as restoring surfaces to their normal pre-contamination state, not sterilising them. A report should interpret Aspergillus and Penicillium results alongside the visual inspection, sampling locations and remediation scope. Australia has no national acceptable-mould-level standards, so do not treat one threshold as a universal legal pass mark.
If an indoor result exceeds either comparison point, use the report to identify the room, sample or mould type needing attention. Review the assessor’s findings and recommendations, including whether further cleaning, investigation or sampling is appropriate. If both comparisons are within the stated benchmarks, retain the report with the property’s remediation records. It documents what was sampled and gives you a clear basis for understanding the findings.
Detailed reporting and recommendations
A useful verification report connects laboratory findings with site observations and the remediation criteria. Under AS-IICRC S520:2025, verification assesses whether those criteria are met, while recording limitations for future reference.
Start with the report’s scope. It should identify the property, inspected work area, assessment date, and locations represented by samples. Check that sample identifiers match the laboratory results. If one sample represents a bedroom and another a hallway, the report should make that distinction clear.
Analytical results need context, not just a table of counts. For airborne mould, look for the indoor findings, the outdoor comparison, the units used, and the mould types identified. A total spore count below 2,000 c/m3 is described as generally representing a normal mould or fungal environment. That figure should be read alongside the organisms detected and the site observations, not as a standalone pass mark.
Target fungal species also need clear treatment. Post-remediation sampling should show zero levels of target species such as Stachybotrys, Trichoderma, Fusarium, Memnoniella, and Chaetomium. If one appears in a result, the report should identify the sample location and explain its relevance to the work area. That detail distinguishes a specific finding from a broad statement about the whole property.
Visual observations add another layer. A report can record whether inspected surfaces show visible residue, remaining debris, or areas that could not be accessed. For example, a clean wall surface does not establish the condition inside a closed cavity. Clear limitations help prevent the assumption that an uninspected space received the same assessment as an accessible room.
- Scope and locations: Confirm the assessed rooms, sample points, date, and any excluded areas.
- Methods and results: Match each laboratory result to its sample identifier, location, unit, and mould type.
- Criteria: See which remediation criteria were applied and how the findings compare.
- Limitations: Note inaccessible spaces, disturbed conditions, or other factors affecting interpretation.
- Recommendations: Look for the next step tied to each finding, such as further cleaning, investigation, or sampling.
Recommendations should link an observation to an action. If a sample identifies a target mould type, the next step should address that location or explain what further assessment is needed. If the report notes an inaccessible cavity, it should state that limitation rather than imply clearance there. Keep the report with remediation records so later inspections can compare locations, findings and actions over time.
What pollutants should be tested after remediation, such as mould, asbestos, lead, or VOCs?
Choose testing based on the material treated and contaminant involved. Mould, asbestos, lead, and volatile organic compounds (VOCs) are different targets, so a mould assessment does not establish whether the others are present.
For mould remediation, verification combines visual and analytical checks. The visual inspection covers the remediated area, while analysis examines samples for fungal findings. The scope should name the rooms or work areas assessed and the mould concern being investigated. For example, a sample collected in a treated bedroom represents that location, not automatically every room in the property.
Asbestos testing addresses a different question. If asbestos-containing material was part of the remediation concern, mould air sampling alone cannot assess it. The assessment scope needs to identify the material or area of concern and specify asbestos as the target. Keep asbestos findings distinct from mould results so one type of clearance evidence isn’t mistaken for another.
Lead also requires its own assessment scope. A mould report cannot establish whether lead is present in paint, dust, or another material. Identify the suspected source and affected area before deciding what assessment is relevant. For example, if work disturbed a painted surface, the report should make clear whether lead was included in the assessment or whether the work concerned mould alone.
VOCs are a separate category of potential air contaminants. A mould spore result does not measure VOCs, and a report should not imply otherwise. If VOCs are a concern after a renovation, water event, or product use, state that target clearly in the testing scope. The findings should name what was assessed, where sampling occurred, and what the results relate to.
Use the remediation record to guide the testing decision. Note the original problem, affected materials, work performed, and any remaining concerns. Then match each concern to an assessment that addresses it:
- Mould: Request visual and analytical checks focused on the remediated area.
- Asbestos: Specify the asbestos-related material or work area under review.
- Lead: Identify the suspected source and affected location.
- VOCs: State the relevant air-quality concern and assessment scope.
A single “air quality clearance” label can obscure important differences. Read the report’s scope and findings to see which pollutants were actually assessed, and which areas remain outside its coverage. If mould is the concern, arrange a mould inspection to help define the affected area and appropriate next steps.
ABC Mould Cleaning Solutions: Air Purification & Scrubbing
ABC Mould Cleaning Solutions can help if verification findings point to remaining mould concerns or a need for further air treatment. Its Air Purification & Scrubbing service addresses airborne particles, while Mould Inspection Services can assess areas needing attention. If mould remains, Mould Remediation offers a practical next step tailored to the affected property and findings.
Use the report’s sample locations and recommendations to explain your concerns. For example, identify a room with a result requiring follow-up or a visible area needing assessment. This links the recommended action to the issue identified, rather than treating every property concern alike.
For mould-related findings after remediation, contact ABC Mould Cleaning Solutions to discuss the next step, or visit mouldremovalssydney.com.au.
Make your next step clear
Use the verification findings to decide what needs attention next. If the report identifies a concern, keep its recommendations with your property records and use them to guide a focused discussion about the affected area. If it notes limitations, factor those into any future assessment rather than assuming untested spaces were covered.
A post-remediation air quality verification test is most useful when its findings lead to a clear, practical action. That may mean addressing an identified issue or arranging further assessment where the report shows a gap. With the report in hand, you can keep the next step focused on your property and its findings.
For support with mould concerns, contact ABC Mould Cleaning Solutions. A clear plan can help you move forward with confidence.
Frequently Asked Questions
What is Post Remediation Verification (PRV) Testing?
Post Remediation Verification, or PRV, assesses whether completed mould remediation meets its agreed criteria. It combines a site inspection with relevant analytical findings rather than relying on appearance alone. For example, a clean-looking skirting board may not show whether the wider work area meets the assessment criteria. PRV also records limitations, such as inaccessible spaces, so future readers understand what the assessment covered.
What happens if one or more of these criteria are not met?
If a criterion isn’t met, the result should identify the sample or area involved and explain the concern. Review the finding, determine whether further cleaning or investigation is appropriate, then assess the affected area again. For example, a result linked to one room shouldn’t automatically be treated as a finding about the whole property. Keep the report and follow-up records together.
When Should You Book PRV Testing?
Book PRV after remediation and final cleaning, allowing at least 24 to 48 hours before verification. This interval gives the area time to settle before assessment. Arrange sampling before occupants resume activities that could disturb dust or airborne particles. For instance, avoid scheduling immediately after vacuuming or using aerosol products. The assessor can then relate the inspection and samples to the completed work area.
Which criteria are used to verify that mould remediation has been successful?
Assessors consider visible condition, sample results, indoor and outdoor comparisons, and the agreed remediation criteria. The IICRC S520 framework describes Condition 1 as an indoor settled spore population similar in type and concentration to outdoors. Condition 2 describes settled spores dispersed from a nearby source without active growth. Condition 3 indicates active or disturbed mould growth requiring immediate remediation. These conditions help describe the environment assessed.
What is a post-remediation air quality verification test?
A post-remediation air quality verification test assesses indoor air and site conditions after mould work. An assessor collects samples from selected locations for analysis, then interprets the findings alongside observations and any outdoor comparison. The test answers a defined question about sampled areas. It does not automatically assess every room, hidden cavity, or pollutant, so the report’s scope and location notes matter.
What are the Australian guidelines or standards for post-remediation air quality verification?
AS-IICRC S520:2025 is identified as the standard governing mould remediation verification. Australia currently has no national standard for acceptable mould levels. The Australian Mould Guidelines describe the remediation goal as returning surfaces to their normal pre-contamination state, rather than sterilising them, and intend eventually to become an Australian standard. Read any numerical benchmark in that context, not as a universal national legal limit.
What pass criteria are used to confirm air quality is safe after remediation?
There’s no single national mould-level pass mark in Australia. The supplied benchmarks include total spores below 2,000 c/m3 as generally representing a normal mould or fungal environment, and Aspergillus/Penicillium below 200 c/m3. Indoor results should also be compared with outdoor levels, and target species should show zero levels. Interpret all findings with the visual inspection, sample locations, and the remediation criteria used.
What are the risks of false-negative results or inadequate post-remediation testing?
A false-negative or narrow sampling plan can miss a concern outside the sampled locations. For example, a sample from a treated room may not represent an adjoining cavity or a separate area with visible damage. Poorly documented locations also make results harder to apply. Check that the report identifies its scope, sample points, methods, and limitations, then use those details to understand what the findings can and can’t establish.